

Sticking vinyl in a bathroom sounds like a simple job, but it is one of those projects where the details matter. Bathrooms are damp, busy, and full of awkward edges, which means a rushed install can lead to lifting seams, trapped moisture, and a floor that never quite looks right. At Banks Flooring Solutions, we fit vinyl every week across Lancashire, and we have seen how quickly small mistakes can turn into bigger problems. The good news is that with the right preparation, the right adhesive, and a careful fitting approach, vinyl can be an excellent bathroom floor that looks smart and stays easy to clean.
If you are searching for vinyl flooring and the surrounding areas, the same core rules apply whether you are doing a small cloakroom or a larger family bathroom. Bathrooms need a stable, dry base and a tidy finish around toilets, baths, and door thresholds. In this guide, we will explain how to stick vinyl flooring down in a bathroom properly, in plain UK English, with the kind of practical advice we use on real jobs.
Choosing The Right Vinyl And The Right Adhesive
Before you even open a tub of adhesive, you need to make sure the vinyl you have is suitable for a bathroom. Many vinyl products are designed to handle moisture, but some are more suited to dry spaces. Sheet vinyl is often the simplest choice for bathrooms because it can be fitted with fewer joins, which reduces the chances of water getting underneath. Luxury vinyl tiles can work too, but they often require an even smoother base and more careful sealing around edges and any joins.
Adhesive choice is just as important. For a bathroom, you generally want a good quality vinyl adhesive that is suitable for wet areas and compatible with your subfloor. Some adhesives are pressure sensitive, which means they allow the vinyl to be laid into a tacky bed and then bonded firmly with rolling. Others are wet set adhesives, which require a different timing and technique. The best option depends on the vinyl type, the room conditions, and how stable the base is. If you are not sure, always check the vinyl manufacturer’s guidance and make sure the adhesive is designed for vinyl flooring, not a general purpose glue.
Getting The Bathroom Ready Before You Fit Anything
Preparation is where most DIY bathroom vinyl jobs go wrong. Vinyl will show imperfections underneath, and bathrooms often have older subfloors that are not perfectly flat. Start by clearing the room completely and removing the old flooring. Any leftover adhesive, loose paint, flaking compounds, or raised bits need to come off. You want a clean surface that the new adhesive can properly bond to.
Next, check the subfloor for movement and damp. If the floor is timber, walk across it and listen for squeaks or springy boards. Movement leads to cracked finishes and lifting edges, so fix loose boards and make sure everything is solid. If the floor is concrete, you need to make sure it is dry enough. Bathrooms can hide moisture issues, and if you stick vinyl down onto a damp base, the adhesive can fail and the floor can bubble or lift.
After that, focus on flatness. A smooth, level base is the secret to a bathroom vinyl floor that looks professional. Often this means using a smoothing compound. For timber floors, a suitable plywood overlay is sometimes used first, and then a smoothing layer can be applied depending on the vinyl type. For concrete, a smoothing compound is commonly the best route. Always let any preparation products cure properly before moving to the next stage.
Measuring, Cutting, And Dry Fitting The Vinyl
Once the base is ready, you can measure up. Bathrooms are rarely perfect rectangles, and you will be working around toilets, pedestals, and boxed in pipes. Take your time and measure carefully, allowing enough material to trim for a neat fit. With sheet vinyl, it is common to cut slightly oversize first and then trim down gradually once it is in place.
Dry fitting is a crucial step that people skip. Lay the vinyl into the room without adhesive and position it how it will sit when finished. This lets you check alignment and plan where any joins or patterns will land. If the vinyl has a pattern, consider how it looks as you enter the room and around key features like the bath panel. A well aligned pattern can make a small bathroom feel more balanced and higher quality.
When trimming, use a sharp blade and change it often. Vinyl can tear or drag if the blade is dull, which leaves rough edges that never look right. Cut slowly and steadily, especially around curves like toilet bases. It is better to trim a little at a time than cut too much and end up with a gap. Keep checking the fit as you go, and remember that a tidy edge makes the finished floor look far more professional.
Applying Adhesive And Sticking The Vinyl Down Properly
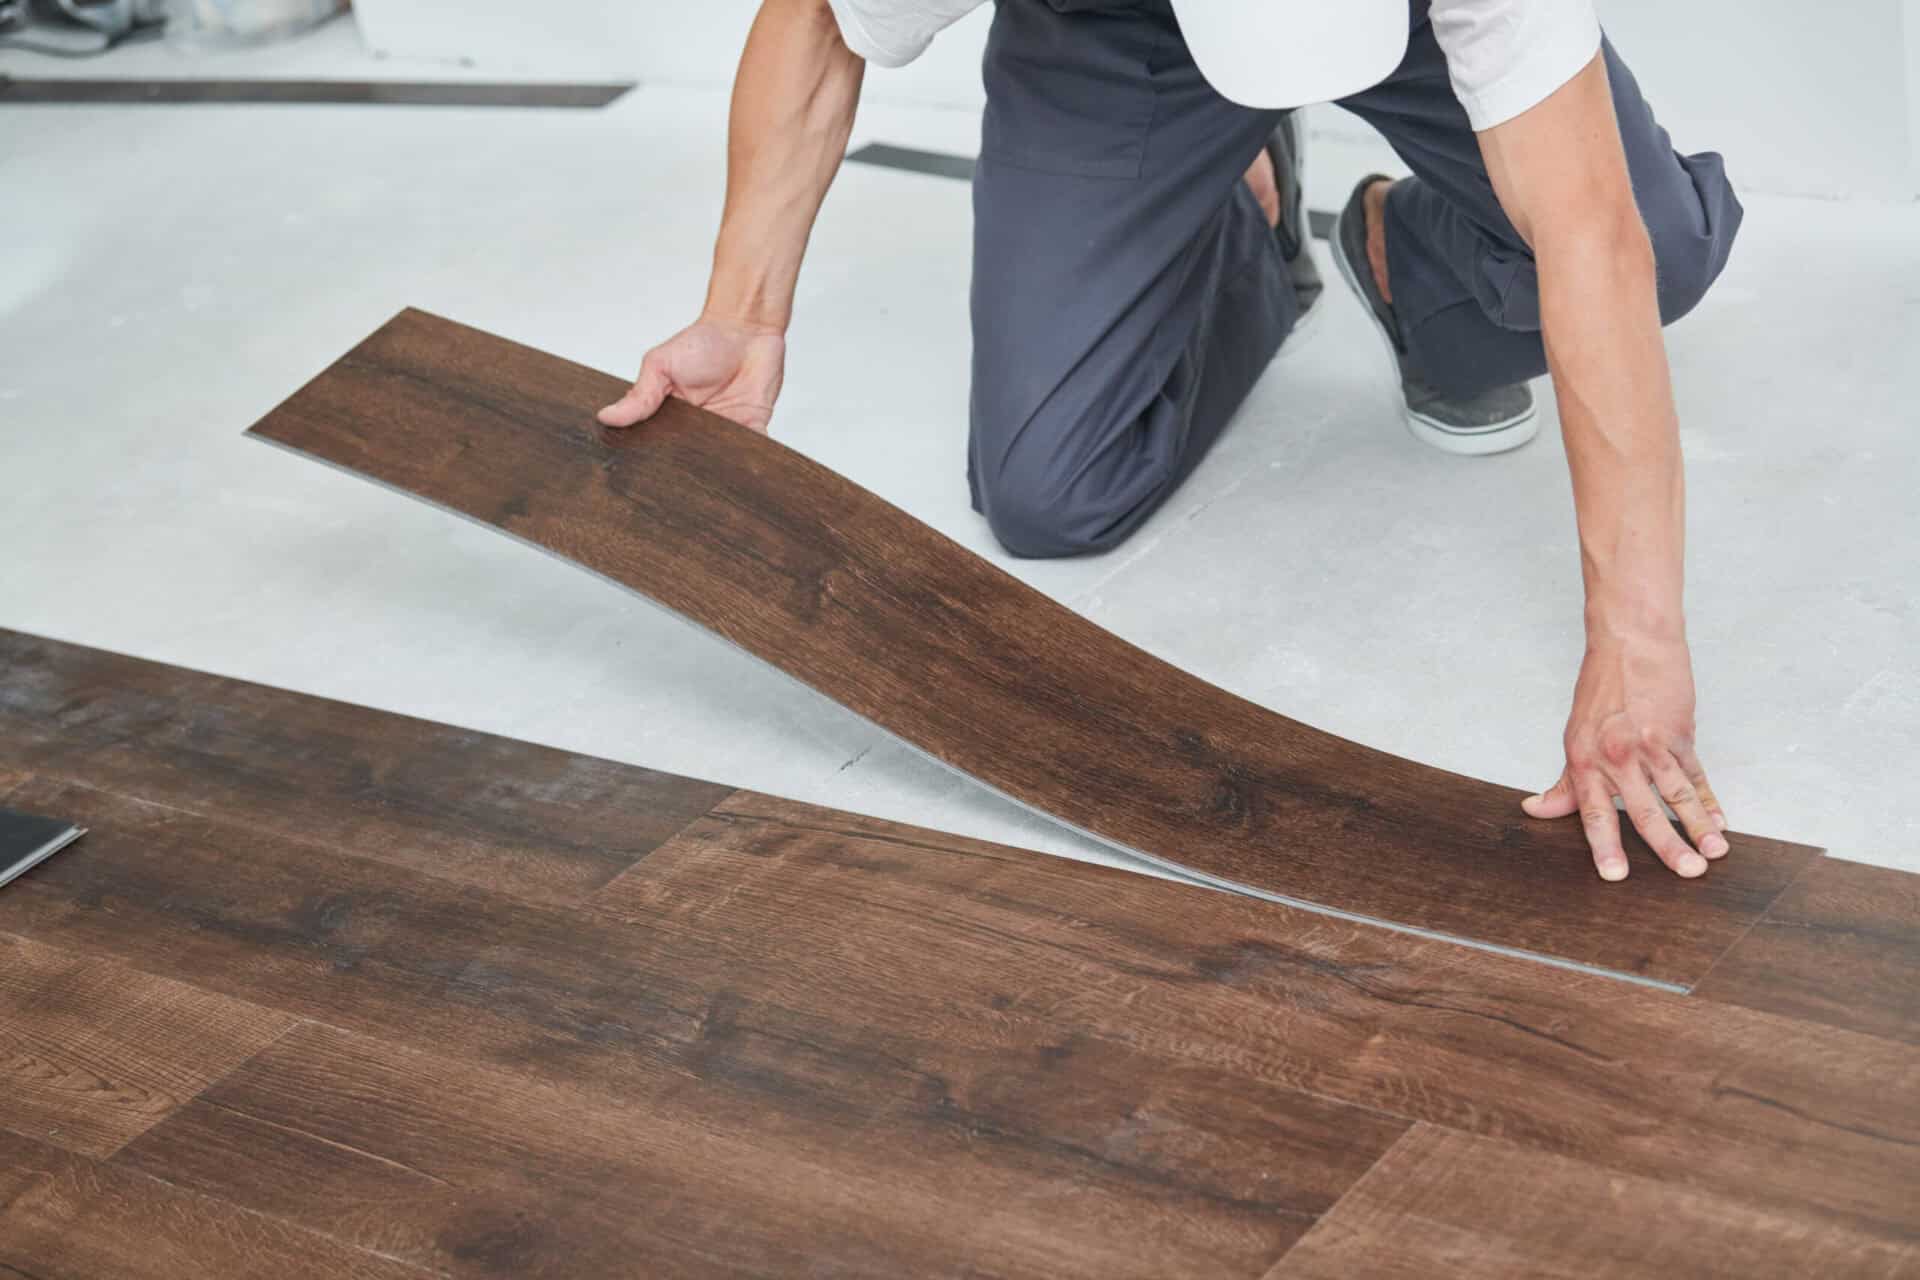
When you are happy with the dry fit, you can begin bonding. The method depends on the adhesive type, so always follow the product instructions. A common approach with sheet vinyl is to fold half the vinyl back on itself, apply adhesive to that half of the floor using the correct trowel or roller, then lay the vinyl back down into the adhesive bed. You then repeat the process for the other half. This keeps things controlled and reduces the chance of misalignment.
Timing matters with vinyl adhesive. If it is a pressure sensitive adhesive, you often need to wait until it becomes tacky rather than wet. If you lay vinyl into adhesive too soon, it can slide and create bubbles. If you wait too long, it can grab too quickly and make repositioning difficult. Once laid, press the vinyl down firmly and work from the centre out to the edges to push out any trapped air. A flooring roller is ideal, but if you do not have one, you can still apply firm, even pressure by working carefully with a clean block and your body weight. The goal is full contact between vinyl and adhesive across the whole floor.
In a bathroom, pay special attention to edges and around fittings. These are the areas most likely to lift if not bonded well. Make sure adhesive coverage is consistent and there are no dry patches. If you are fitting around a toilet, it is often best to remove the toilet where possible for a cleaner finish, but if that is not practical, you will need very careful cutting and pressing around the base.
Sealing, Finishing, And Keeping Water Out
Bathrooms are about moisture control, so finishing is not just cosmetic. Once the vinyl is stuck down, trim edges neatly and check the whole perimeter. In many bathrooms, it is best to fit the vinyl slightly up the wall behind the skirting or with a neat edge finish that can be sealed. Some installations use coved edges for extra protection, but that depends on the space and the style of finish you want.
Sealing around the bath, shower tray, and any exposed edges helps reduce the risk of water finding its way underneath the vinyl. Use a suitable bathroom sealant where needed, and make sure it is applied neatly and allowed to cure. Be careful not to seal areas that should remain open for ventilation, and avoid trapping moisture where it could cause hidden problems. If your bathroom has skirting boards, refit them carefully so they sit cleanly without pinching or damaging the vinyl.
After fitting, avoid heavy use straight away. Many adhesives need time to cure fully, so keep foot traffic light if you can and avoid washing the floor for the period recommended by the adhesive manufacturer. This helps the bond develop properly and reduces the chance of shifting.
Common Mistakes We See And How To Avoid Them
One of the biggest mistakes is sticking vinyl down onto a poorly prepared floor. Even a small ridge or bit of grit can show through and wear faster. Another common issue is ignoring damp. Bathrooms can have moisture problems that are not obvious, and adhesive failure is often the first sign that something underneath was not right. Skipping dry fitting is another problem, because once adhesive is down, you have far less room to correct mistakes.
We also see people using the wrong adhesive or applying it too thickly or too thinly. Vinyl adhesives are designed to work with specific trowels and coverage rates, so follow the guidance rather than guessing. Cutting with a blunt blade is another easy way to ruin the finish, especially around tight edges. Lastly, rushing the curing time causes trouble. Using the bathroom too soon, washing the floor too early, or dragging furniture across it can all create lifting and bubbles before the adhesive has fully set.
If you take your time and treat each step seriously, you will get a stronger finish that looks better and lasts longer.
When It Makes Sense To Call A Professional
DIY can be fine for simple rooms, but bathrooms are often more complex than they look. If the subfloor needs levelling, if there is any sign of damp, or if the room has lots of awkward cuts, getting a professional fitter in can save money in the long run. A well fitted vinyl bathroom floor should sit flat, feel solid, and have neat edges that resist water. That result comes from preparation, experience, and the right tools.
At Banks Flooring Solutions, we fit vinyl bathrooms across Lancashire and we are always happy to advise. If you want a floor that is properly bonded, finished neatly, and designed to cope with daily moisture, we can help you choose the right product and install it to a high standard. A bathroom floor should not be something you worry about every time someone steps out of the shower. With the right approach, vinyl can give you a clean, practical finish that stays looking good for years. Contact us today.