

Vinyl flooring is one of the most popular choices for homeowners who want durability, easy maintenance, and stylish finishes at an affordable price. When installed correctly, it creates a seamless look that can transform any room. However, the real challenge comes when the flooring needs to be cut around obstacles such as pipes, door frames, skirting boards, and fixed furniture. This stage of installation is where many DIY enthusiasts struggle, but with the right approach, it can be done with precision and confidence.
In this detailed guide, we will explore the best methods for cutting vinyl flooring around tricky shapes and objects. From preparation and tools to step-by-step cutting techniques, you’ll learn how to achieve a professional-looking finish even in rooms with awkward layouts.
Why Cutting Vinyl Flooring Accurately Is So Important
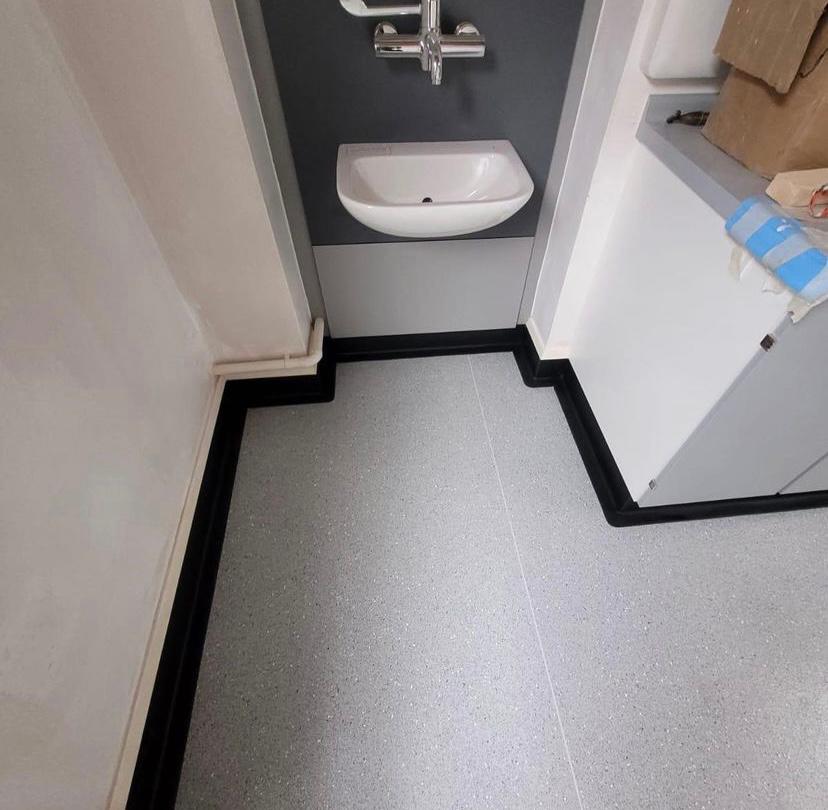
The clean, seamless appearance that makes vinyl flooring so appealing depends entirely on the accuracy of its fitting. If the flooring is cut poorly around objects, the result can be disappointing. Visible gaps quickly draw the eye, while edges that do not sit flush with walls or fixtures can lift and peel over time. These imperfections do more than spoil the look of your floor; they can also shorten its lifespan and create trip hazards.
Water resistance is another factor to consider. In kitchens and bathrooms, gaps created by imprecise cutting allow moisture to seep underneath the flooring. This can lead to long-term damage or the need for early replacement. Taking the time to cut carefully not only ensures a beautiful finish but also preserves the durability that vinyl flooring is known for.
Choosing Vinyl Flooring in Preston
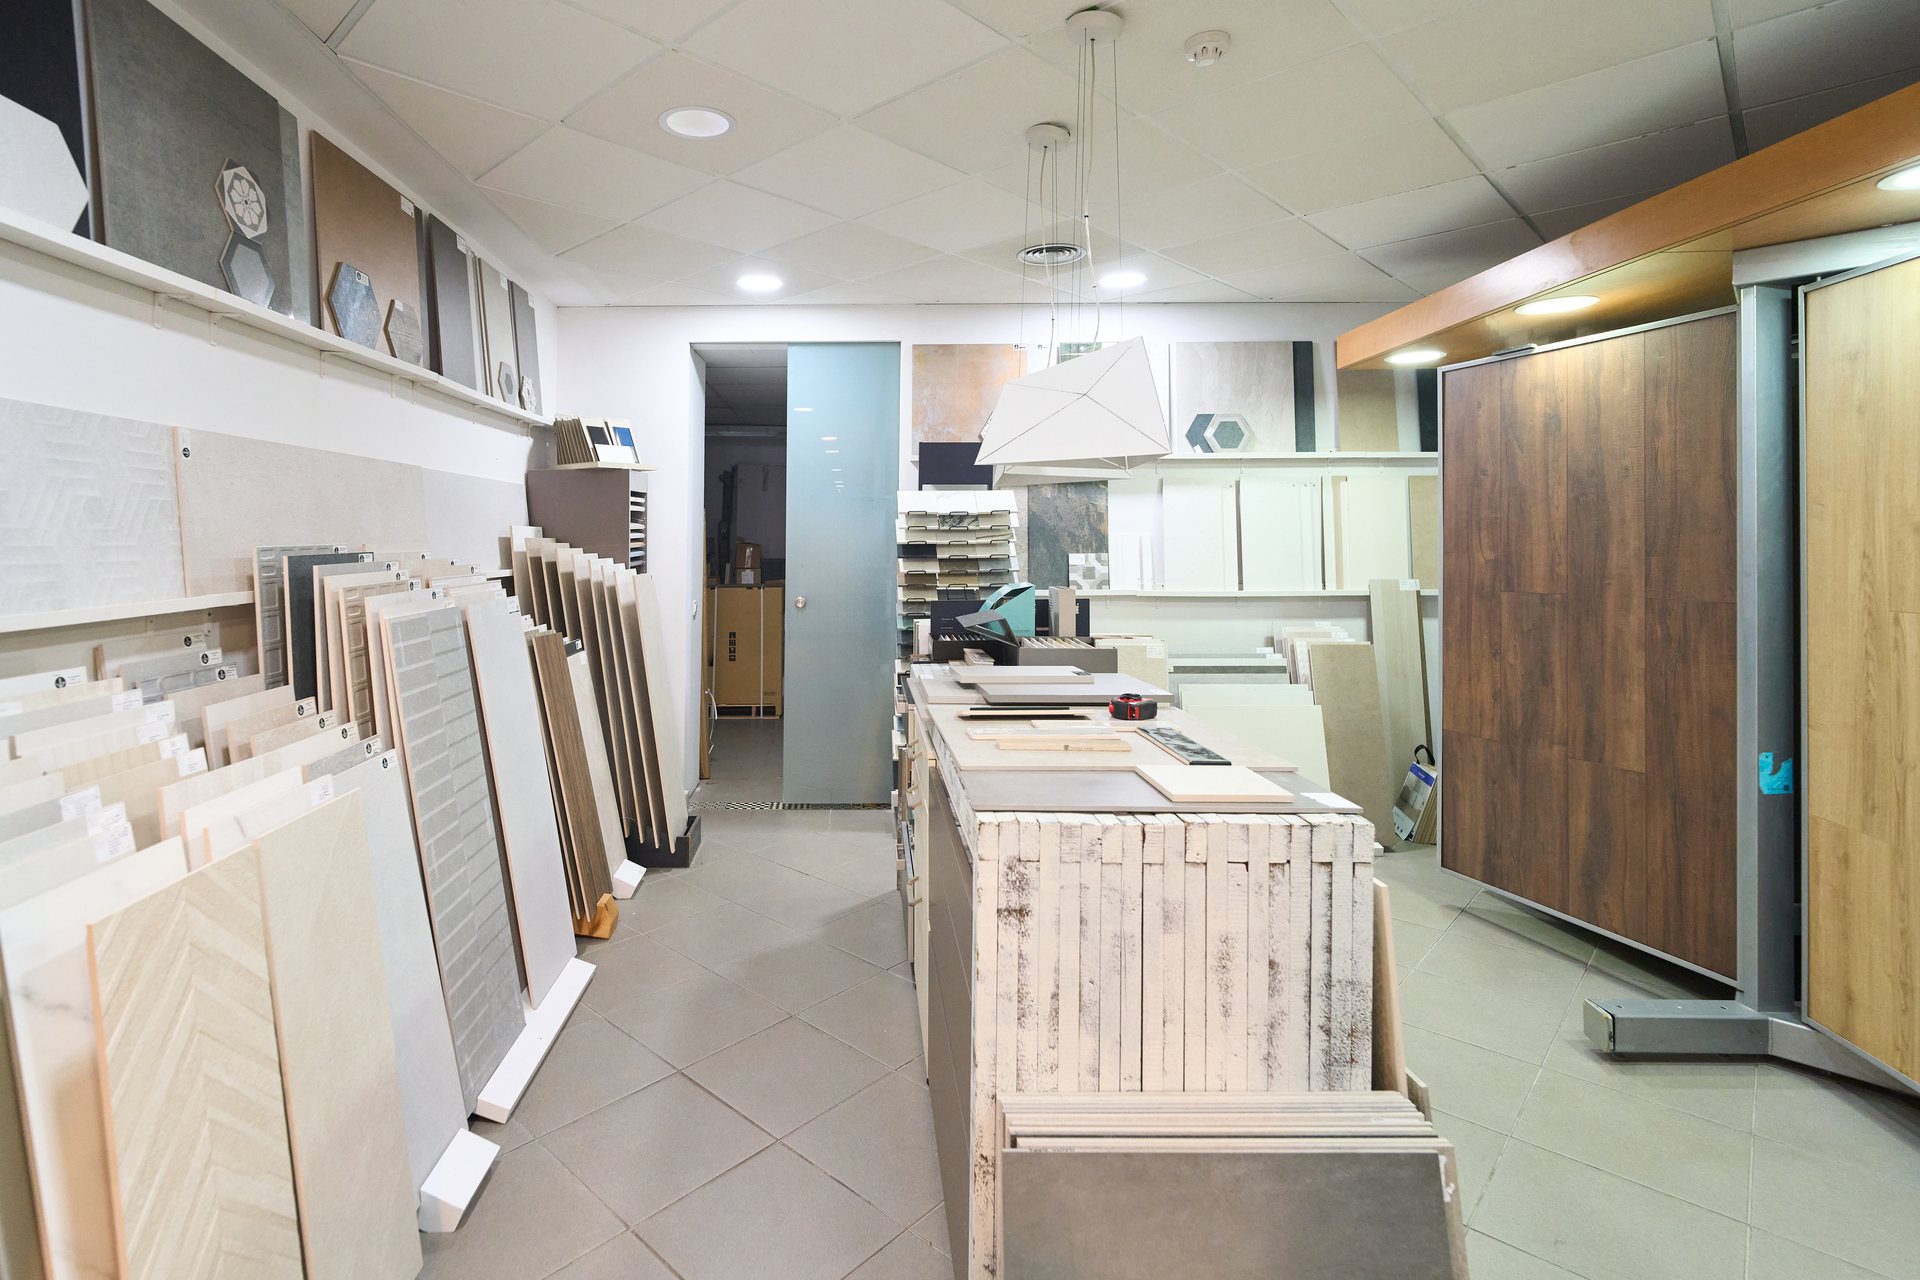
For homeowners looking for vinyl flooring in Preston, finding the right supplier and installer can make all the difference. Local specialists such as Banks Flooring Solutions provide access to high-quality vinyl combined with professional fitting services. This gives you peace of mind that even the most awkward corners and obstacles will be handled with precision.
By shopping locally, you also benefit from the chance to view samples in person before committing. Local experts understand the needs of homes in Preston and surrounding areas such as Fulwood, Penwortham, and Broughton, where both modern builds and traditional properties are common. Period terraces often present more challenging room layouts, while newer homes may feature open-plan kitchens with fixed islands. Whichever type of property you live in, an experienced Preston-based fitter can adapt the installation process to suit your space.
Preparing the Right Tools for the Job
Having the correct tools to hand is essential before you begin cutting vinyl. A sharp utility knife or Stanley knife is the most important tool, as vinyl quickly dulls blades. Using a blunt knife will result in jagged, uneven cuts that spoil the finish. A strong metal ruler or straight edge is equally important to guide the knife during straight cuts.
For complex shapes, template materials such as cardboard or heavy paper can make the process easier. A compass or scribing tool allows you to trace curves accurately, while a pencil and masking tape help to mark out the cuts without damaging the vinyl surface. A measuring tape ensures every cut is based on accurate dimensions. With these basic tools, you can approach the installation with confidence, knowing you are prepared for both simple and complicated sections.
Measuring the Space with Care
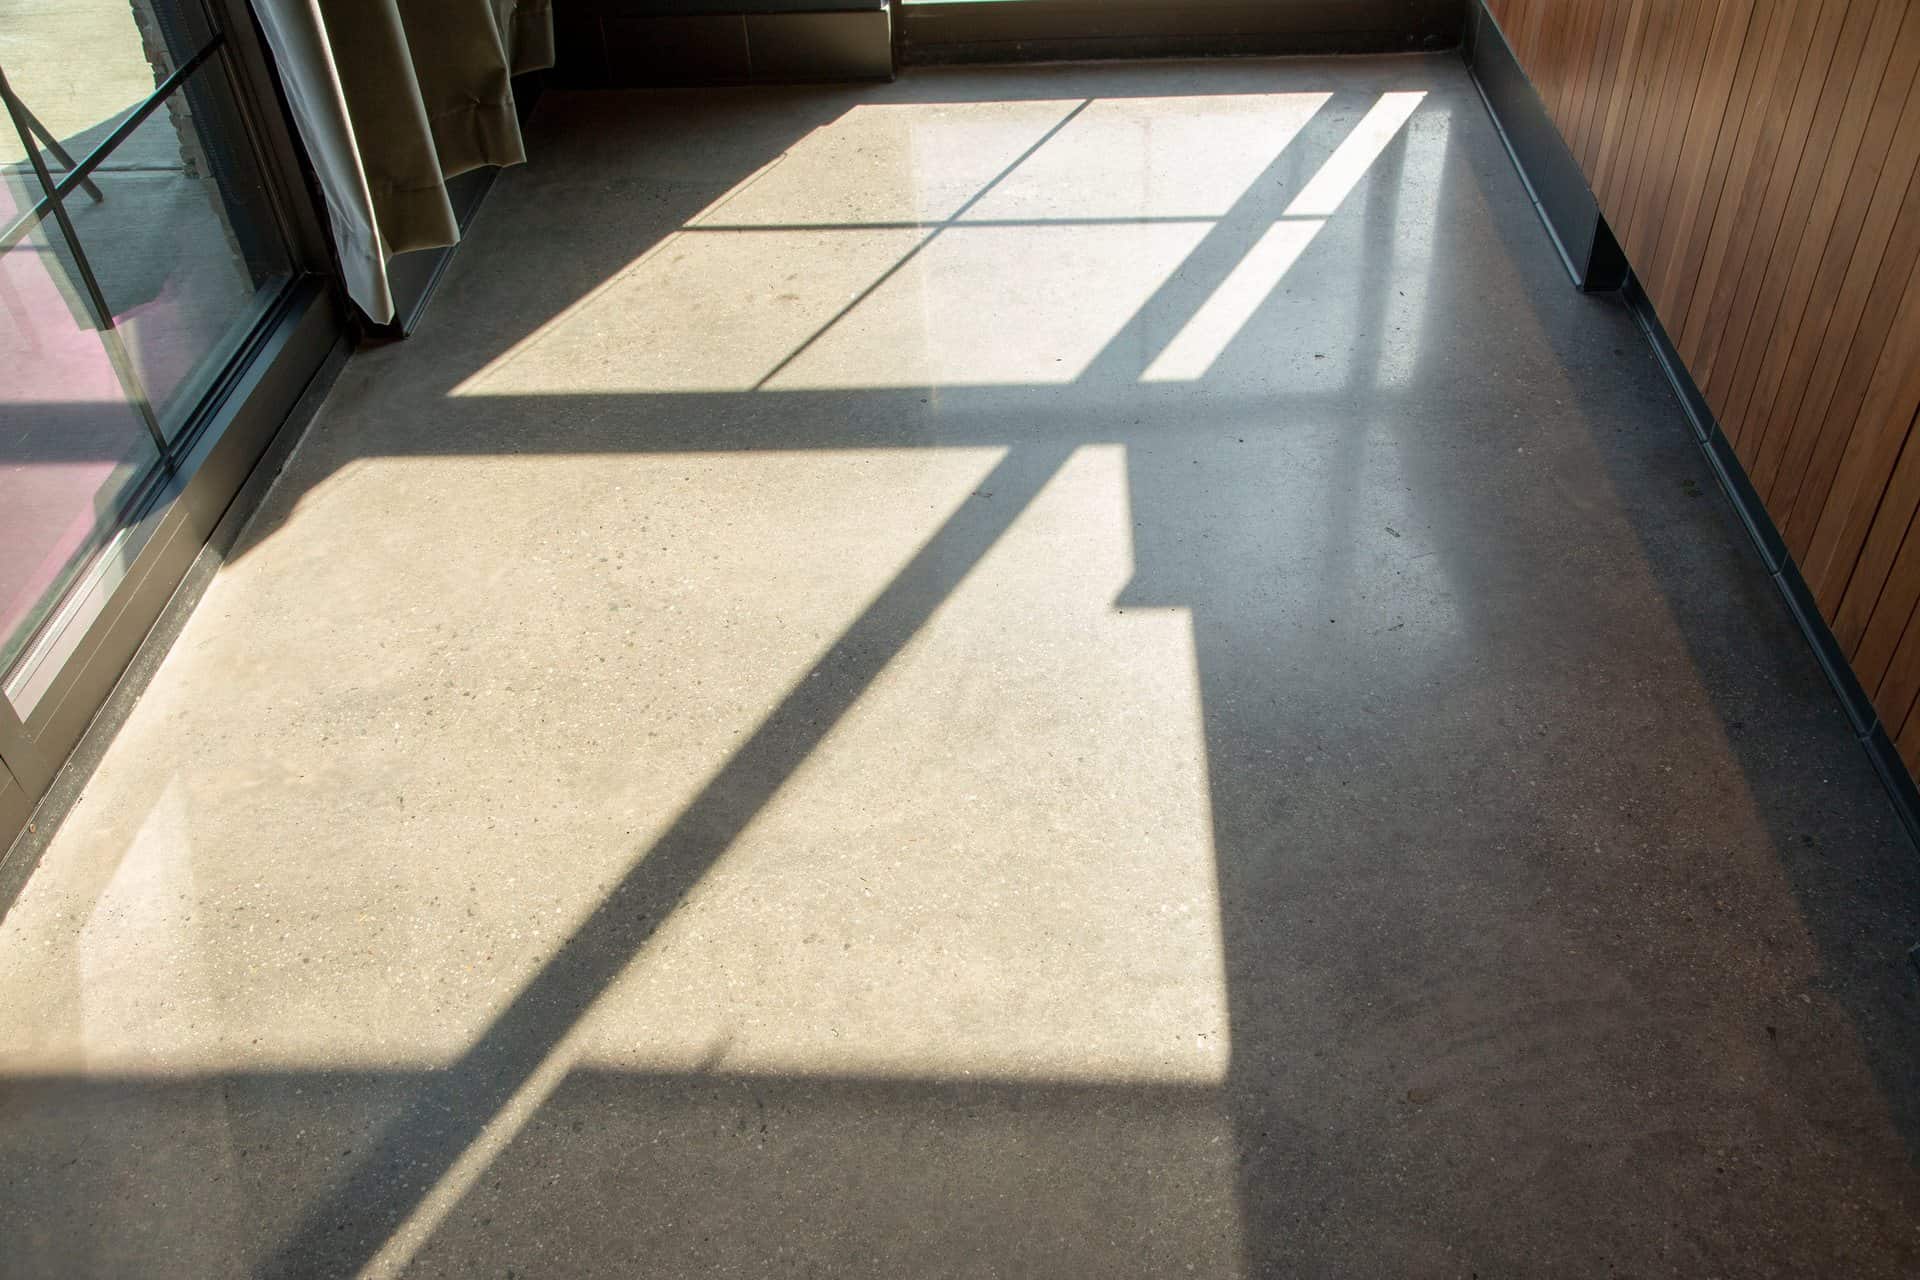
Accuracy begins with measurement. Before making any cuts, take the time to measure the room and identify where obstacles such as pipes, corners, and fixtures are located. In many homes around Preston, especially older properties in PR1 and PR2, room shapes are not always perfectly square. Taking extra care at this stage prevents costly mistakes later.
Always measure more than once to confirm accuracy, and allow a small margin for trimming when laying the flooring. Vinyl is forgiving in that it can be finely adjusted once in position, but starting with a measurement that is too tight can leave you with gaps that are impossible to disguise. Careful preparation here saves frustration later in the process.
Using Templates for Irregular Shapes
One of the best methods for cutting vinyl around awkward objects is to use templates. This involves placing a piece of cardboard or heavy paper over the object, tracing its outline, and cutting it to shape. The template can then be transferred directly onto the vinyl, ensuring the cut matches the exact size and shape required.
This technique is particularly useful for bathrooms where curved sinks and toilets are common, as well as kitchens with rounded cabinet edges. It eliminates guesswork and reduces the risk of wasting material. By working with a disposable template first, you can make mistakes safely before committing to cutting the actual vinyl.
Cutting Vinyl Around Pipes
Radiator pipes are a common obstacle that many DIY installers encounter. The best way to approach this is by first marking the centre of the pipe’s location on the vinyl. A small X-shaped cut can then be made, followed by a neat circular cutout just smaller than the pipe itself. When the vinyl is placed over the pipe, the tight fit prevents visible gaps.
In some cases, cutting a small keyhole shape, where a line extends from the circle to the edge of the vinyl, allows the flooring to slide neatly into place. Once the flooring is laid, the cut can be sealed with clear silicone to protect against moisture and to give a polished finish.
Cutting Around Door Frames
Door frames are another area where precision makes a huge difference to the overall look of your flooring. The neatest approach is to undercut the bottom of the frame using a saw or multi-tool so that the vinyl can slide underneath. This creates a seamless transition that looks professional and avoids the need for fiddly cuts.
If undercutting is not possible, the alternative is to scribe the shape of the door frame onto the vinyl using a pencil or scribing tool. The key is to cut carefully so that the vinyl sits snugly against the frame without leaving visible gaps. In many older Preston homes with thicker wooden frames, a little sanding may be required to help the vinyl fit neatly against the surface.
Handling Curves and Corners
Curved edges and awkward corners can be intimidating, but they can be managed with a simple scribing technique. Place the vinyl loosely against the curve, then hold a pencil against the wall with a small spacer such as a coin between them. As you move the pencil along the curve, the line traced on the vinyl will match the contour of the wall.
Once the line has been drawn, the vinyl can be trimmed along this shape with a sharp knife. This technique is especially useful for bay windows or rounded skirting boards, which are common in period homes across areas such as Ashton-on-Ribble and Ribbleton. Taking time to scribe the curve accurately prevents gaps and ensures the vinyl sits perfectly against the wall.
Working Around Fixed Fixtures
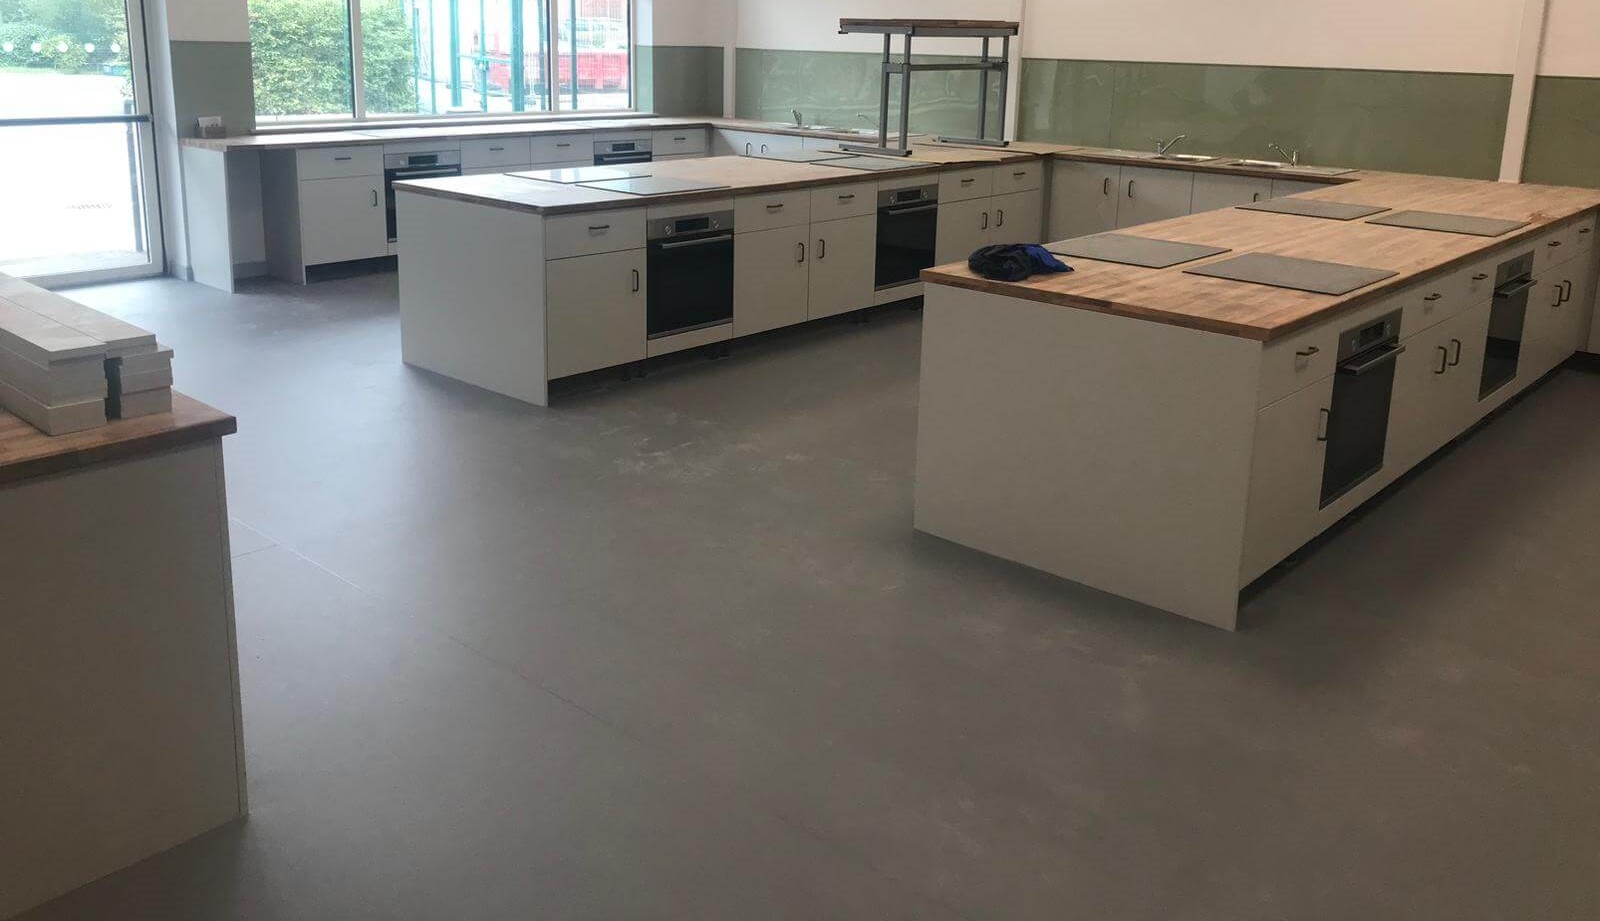
In kitchens and bathrooms, fixed furniture such as sinks, cabinets, and islands can make vinyl installation more complicated. Here, templates once again prove invaluable. By carefully tracing the base of the fixture and transferring this to the vinyl, you can achieve a cut that hugs the object closely.
It is always safer to cut slightly outside the line initially and then trim back gradually until the fit is perfect. Rushing this stage risks cutting too much away, which cannot be corrected. Patience is key when working around these permanent fixtures, and the extra care will pay off in the finished appearance of your floor.
Avoiding Common Mistakes
There are a few common mistakes to watch out for when cutting vinyl flooring. One is cutting too close to the object too soon, which can leave you with gaps that cannot be hidden. Another is using a dull blade, which creates rough edges and makes it harder to achieve clean lines. It is also important to remember that some vinyl products require a tiny expansion gap around the edges to allow for natural movement. Finally, curves and irregular shapes should never be rushed, as this is where mistakes are most noticeable.
By avoiding these pitfalls and working methodically, you will achieve results that rival those of a professional fitter.
Knowing When to Call a Professional
Although cutting vinyl flooring can be a rewarding DIY project, it is not for everyone. Homes with multiple tricky obstacles or unusually shaped rooms often require more skill and experience than the average homeowner can manage. In these situations, calling in a professional is the best choice.
Banks Flooring Solutions, serving Preston and nearby areas such as Fulwood, Penwortham, and Broughton, specialise in both supplying and fitting vinyl flooring. Professional installers not only bring the right tools but also the expertise to handle complicated layouts quickly and neatly. This ensures a flawless finish and saves you from the frustration of trial and error.
Final Thoughts
Learning how to cut vinyl flooring around objects is one of the most important skills in achieving a professional installation. From careful measurement and template creation to specialised techniques for pipes, door frames, and curves, every step contributes to the final look and longevity of your flooring.
For homeowners in Preston and the surrounding areas, combining these techniques with the support of local experts ensures the best results. Whether you choose to take on the project yourself or rely on professional fitting services, the key lies in accuracy, patience, and attention to detail. With the right approach, your vinyl flooring will not only enhance the appearance of your home but also provide a practical, long-lasting surface that stands up to everyday life.
Get in touch with the team of flooring experts at Banks Flooring Solutions for more great tips and advice.